Old Hickory part one:
A Chain of Command Campaign

Yesterday Kati and I started one of TooFatLardies pint sized ww2 campaigns entitled "Old Hickory."
This campaign takes place during the German Operation Lüttich August 7th-13th 1944. This was the Germans attempt to cut the Allied forces in two after the gains of Operation Cobra. The general idea was to attack around Mortain and drive to Avranches(on the Atlantic) which was the shortest section of the front only 30km. This would cut Patton off from his supplies and stall the Allied drive through Normandy. The German forces that made up the offensive were under strength and under supplied and the offensive would appear to have been doomed from the start. The Campaign earns its name from the American Infantry division that was defending the sector, the 30th "Old Hickory."
Basis of the campaign:
Here is the intro to the campaign itself:
This Pint Sized Campaign we are focussing on the battle around L'Abbaye Blanche, a key position as it controlled access to Mortain from the North. Here elements of F Company 120th Infantry Regiment established a roadblock which was subjected to successive attacks over a period of three days. Facing this small band was 2nd SS PanzerDivision Das Reich and, specifically, their armoured infantry battalion, III Battalion 4thSS Panzer Grenadier Regiment Der Führer.What makes this campaign interesting from a gaming point of view is the set up. This is a ladder style campaign and in a traditional ladder campaign you and your opponent fight up and down the rungs of a ladder(which are games) until one of you reaches the opponent's last rung and win. In this campaign it's set up a little different. The Americans are defending L'Abbaye Blanche and there are 3 ways into the village each represented by a 2 or 1 scenario paths(code names red, orange and yellow) that the Germans can use to attempt to capture the village.

Each Campaign turn, the American player(me) must divide up his platoon and support weapons between the 3 routes. After he does this in secret, the German player(Kati) announces the route she will be using to attack the village. I only get the troops that I have on that path and she can use one of three platoons she has at her disposal.
As this is a campaign all casualties during the game are tracked and after the game you check a chart to see how many are gone forever, miss a game, or report back immediately. This adds a layer to the game that is absent in a one off scenario and we are excited to see how much it affects things.
Another interesting aspect of this campaign is that real maps from the period were used to design each of the scenarios and support options are only those used there so it's as close to a real fight as they could make it!
Now enough of this long winded intro and to the game! .

I divided my troops between the 3 routes as follows
Red-
my Lt.
squad 1(1 Nco with BAR, BAR team 3 men and rifle team 6 mem), squad 2
2 3' AT guns
1 .50 cal HMG
1 minefield
Orange-
sarge
squad 3
1 57mm AT gun
1 3' AT gun
1 .30 cal MMG
1 bazooka team
1 minefield
Yellow-
1 3' AT gun
1 57mm AT gun
1 .30 cal MMG
one extra LT.
mines
As you can see I took a gamble(it seemed the most terrain heavy and therefore safest approach) and tt ended up paying off as Kati attacked Red sector. For additional support I received a mortar spotter for a 2 tube battery.

Kati had a standard Panzergrenadier platoon
a Lt. and Panzerschreck team
3 squads of: an NCO, a MG team 3 crew 2 rifles, and a second MG team 3 crew 1 rifle and
for support she took a 4th squad of men and a panzer iv


We laid the table out almost exactly as the map showed with the only exception being a wall in the bottom corner instead of a hedge(we ran out of hedges).


My Jump off points ended up mostly in the field and Kati's ended up in the woods
The Germans had first phase and wasted no time deploying SQ1 and SQ4(guys in blue)

My observer arrived on the battlefield first and my HMG deployed on the hedge.


German SQ2 entered the field and the poor saps in SQ4 moved up. As these men(SQ4) are borrowed from another platoon Kati didn't have to worry about losing men from said squad...and trust me she didn't worry.


I quickly deployed a firing line along the hedge as both SQ1 and 2 entered the same phase and opened up on the advancing Germans.


The Germans quickly fired back and the advance continued.


My observer, not wasting time with a ranging shot, called in a mortar barrage that ended up landing just between our forces. As it was only a 2 tube battery it was only a 8 inch square instead the the usual 16 inch.
I also take this moment to start falling back across the field. I admit I was scared of losing too many troops this early in the campaign,

Kati boldly continues her advance toward the barrage!


My observer is able to move the barrage and the German SQ4 immediately hits the dirt as my men continue to fall back.


Kati finally ends the turn with a CoC point and her men are up and moving again. One of my squads is safe behind the next hedge line and the other is working through the field.
My HMG takes a beating for staying back. It returned fire in kind but had little effect.

As luck would have it I was able to call in another barrage and this one came in right on target! pinning down Sq2 and the Panzerschreck team.

My HMG broke and ran.


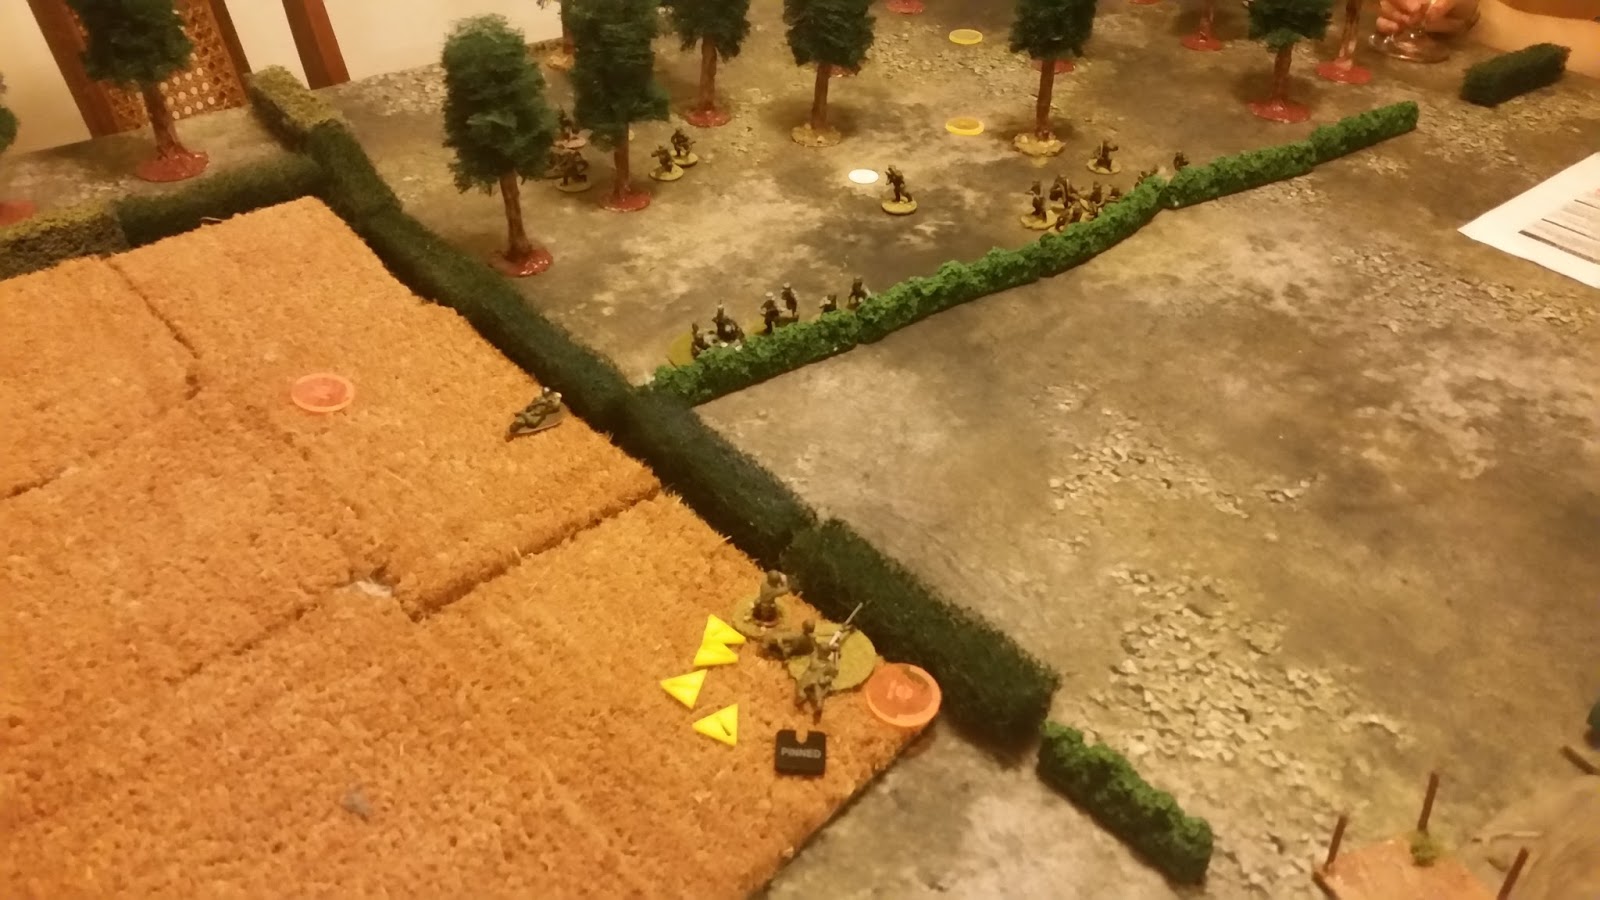
The Germans push over the hedge and start lining up parallel to my men. The turn also ends leaving SQ 2 shell shocked but not out of the fight.

The fire-fight across the field begins.


My men start off with some early success but as more Germans get to the hedge, more MG42s start to lay down fire and in a straight fight like this they will come out on top.

Once the third German squad hits the line the fire becomes too much. Under mounting pressure I order a withdrawal and my men make their escape.
I lost 7 men total 3 dead, 2 wounded (miss one game) and 2 that were able to grab up their rifle again. The German platoon only lost 4 guys (not counting the 4 lost from the borrowed squad) 2 dead 1 wounded and 1 returning.
Not sure how else I could have handled this fight and it scares me that she still had another squad and a tank that she never needed to deploy. This is going to be an uphill battle for me.
No comments:
Post a Comment