AWI Foraging Party, Using Sharp Practice 2

Today, Kati and I broke out the AWI stuff to play a game of Sharp Practice 2 today. In reality, we broke everything out a week ago but I really needed to refresh myself on the rules and it took some time to get to that (rereading rules is not as fun as playing)


We set up a pretty classic table with a little bit of everything on it then we rolled scenario and got "sweep the table". We quickly decided that a foraging party looking for animal fodder and maybe whatever else they could find would be perfect.

We went with the basic pre1778 forces out of the book and rolled a 6 for support options. this left my British force looking like this"
-Stat 4 officer with drummer
3 groups of regulars
-stat 2 officer
2 groups of regulars
-stat 1 officer
1 group of light infantry
I upgraded the first officer from stat 3 to 4, added a drummer and a second deployment point as my support.

Kati used the Sundry Rebels list from the book
-Stat 3 officer
2 groups continentals
-stat 2 officer
2 groups of state line
-stat 1 officer
1 group of militia skirmishers
-stat 1 officer
1 group of militia skirmishers
-stat 1 officer
1 medium Gun
Kati added the last officer and upgraded the status of the first officer. Both lists were 56pts plus the 6 bonus points.


We added 4 piles of hay bales to the table and counted the house as an option to search. For anyone unfamiliar with Sharp Practice a unit must base an objective and roll to d6 to perform the task of acquiring it. For fodder, you must roll 6 or higher.
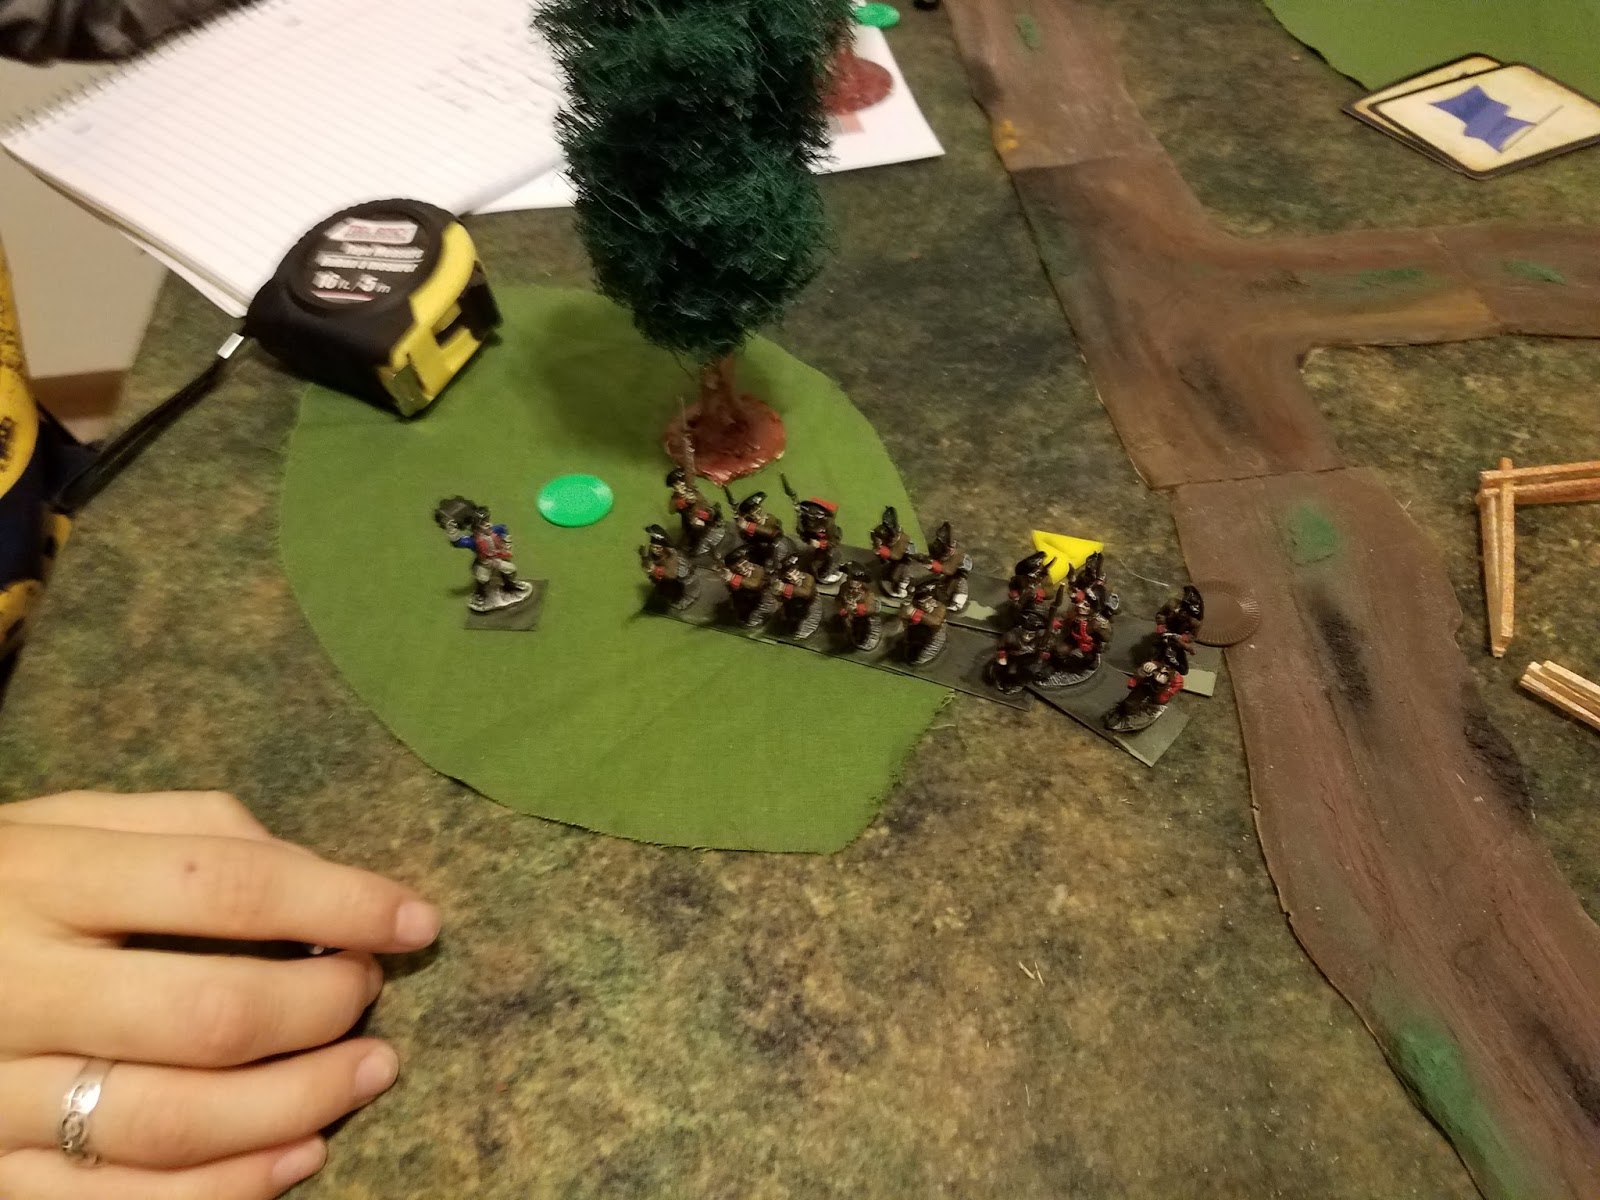
Kati rolled to be the forage party and started on the wooded end of the table where the road enters. I had two points of entry but was not allowed to enter until my leader 1 card had been drawn and I rolled a total of 14 on 2 6d. Anytime I failed, the score would be added to any subsequent attempt.
Speaking of my leader 1 card, I think this is a good time to point out that SP is a card driven game. You have 4 command cards and a card for each leader in the deck as does your opponent plus the tiffin card which ends the turn. I have covered this system in a previous post but it is unique and changes the dynamic of the game compared to others I play.

First turn saw no one enter that table and turn 2 saw only the artillery enter. This would be a good example of why some people don't like this style of game....as what 18th-century army would lead with its artillery, but we went with it.


Turn 3 saw the Continentals arrive followed by some militia.


Turns 4 and 5 saw the militia move up and still no signs of any redcoats.


This was followed by still 2 MORE TURNS of my men hanging out off-table while the rebels grab up undefended fodder.

They then proceed to walk towards the next stack......but wait what's that coming down the road?

My leader 2 and his formation finally enter the table...just in time for the turn to end.


The next turn sees the rebels continuing to advance.

My leader 1 enters the table with his large formation.

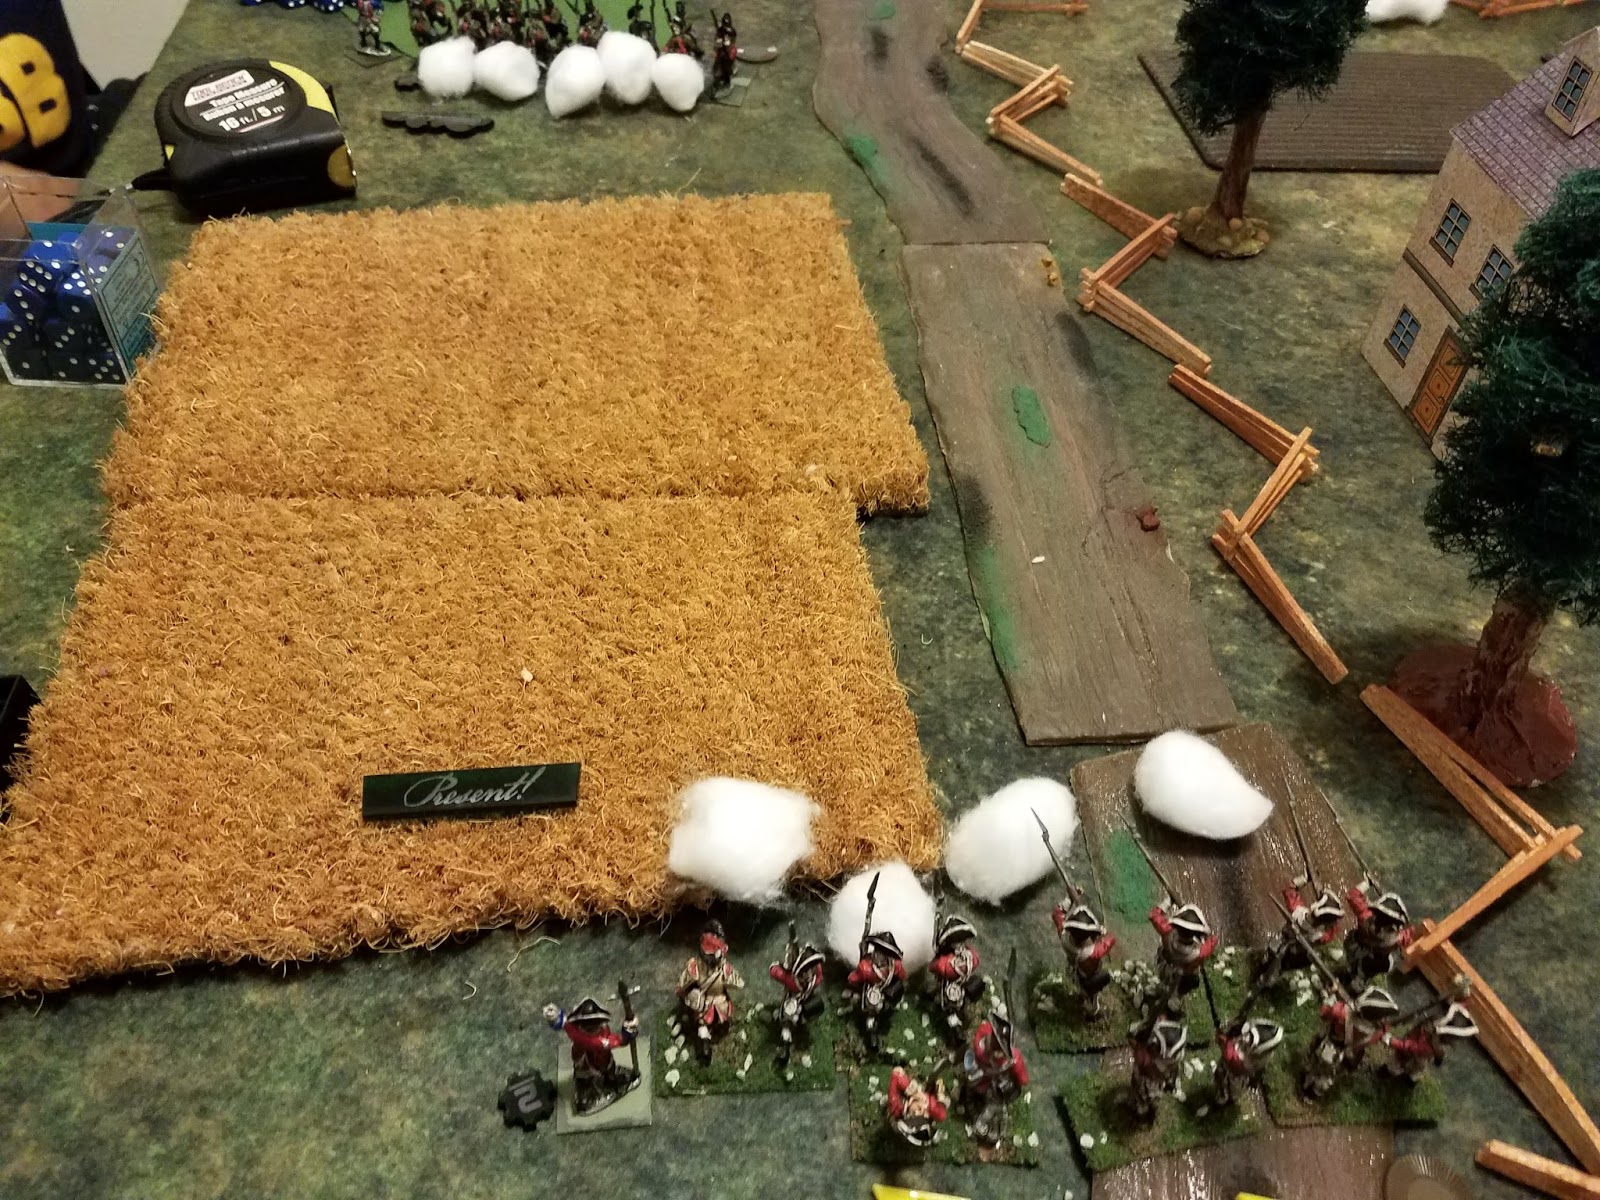
This is what the table looked like at this point. I took this shot because at this moment the first guns would go off.


With a well-controlled volley, my men fire the first volley of the game. And just a note we use the smoke to show a unit that has fired but not reloaded.
The effects were minimal.

Kati's men return fire and a shoot-out ensues.

My leader 1 advances his men slowly forward being harassed from the fence line.

My lights finally finish their tea break and enter the fight.
The firefight on my left continues.

The rebels grab up some more fodder.

And the march continues.

The State line troops march up and put more pressure on my left.

I finally unleash a devastating volley killing a group of militia to the man!

Kati responds with a cannon blast aimed at my lights.

Which is pretty damaging.

My left flank is taking a beating as another group of militia make it to the door of the house with its the last objective.
The militia searching the house signals the end of the game. The American forces came out successful in their foraging venture thanks in no small part to no one raising the alarm in the British camp until it was way too late.
No comments:
Post a Comment