Battle of Nyezane River, January 22, 1879
"Godide had..moved a few miles north, to a line of hills above the Nyezane. None of these movements were spotted by Pearson; having been joined by local elements during his advance, Godide had under his command 6,000 men, and he hoped to ambush Pearson's column on the march.
Pearson reached the Nyezane at about 9.00 am.. The heights beyond appeared deserted, but just as his wagons began to cross, Pearson noticed a party of Zulu scouts on a spur known as Wombane. A detachment of the NNC was sent to clear them away, but as they ascended the hill, the NNC were surprised by a sudden volley from Zulus hidden in the long grass. As they fled back down the slopes, a major Zulu attack developed behind them, a line of warriors streaming down from beyond Wombane. Pearson immediately advanced up the rising track ahead of him, deploying his men to face the Zulu attack. As he did so, another Zulu body- the chest- came into view further up the road, and moved down to occupy a deserted Zulu homestead. For the better part of an hour the Zulu attempted to close with the British force, but were kept back by heavy fire. Once the attack of the chest had clearly stalled, Pearson ordered a counter-attack up the road, and the Zulus were driven out of the homestead. Seeing this, the left 'horn' on Wombane also began to retire. By 9.30am the battle was over.
Pearson's casualties were remarkably light- just 15 men killed, and a similar number wounded. Over 400 Zulu bodies were counted in the long grass around the british position, however, and dozens more on the line of retreat. Pearson had been remarkably lucky, for his force had been dangerously vulnerable as it crossed the river; the NNC's accidental encounter had provoked the Zulu attack prematurely.
The following day, Pearson occupied Eshowe, and began to prepare the site for defence. Within days, however, he received information that the British had by no means been entirely successful on the 22nd."
-exert from Osprey's Essential Histories, The Zulu War
This is a pretty brief and non-exciting version of the battle, I've heard flavorful accounts with details about how the daring engineers took up a spot in the line to prevent a last minute out-flank by the Zulus. There are more detailed descriptions of this battle out there so don't be afraid to look!
The Battle Report:
I took the role of the British, and my wife Kati volunteered the role of the unorganized Zulu attack.
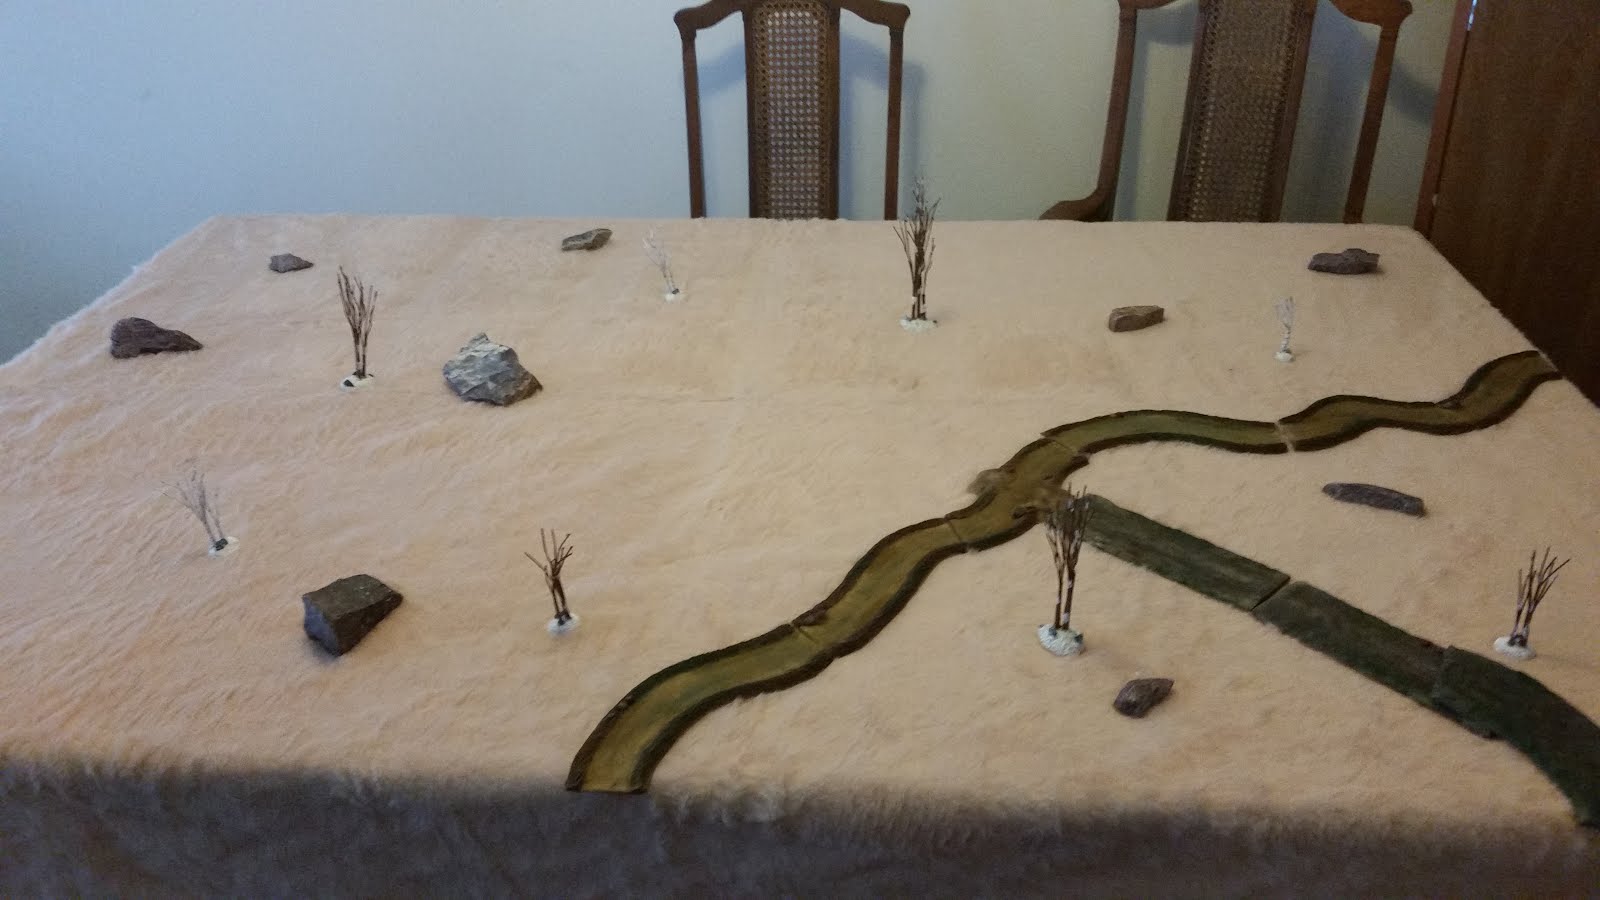
On a 6x4 table format, using the scenario for the Battle of Nyezane River from the Zulu supplement for their Black Powder rules from Warlord Games. We intended to play an 8 turn game, but due to the massacre of the Zulus it took far less.
Interesting note: the scenario rules are different from the map depicted in the Warlord Games book because in their battle report that's how they deployed. So we used the rules deploying only 1/3 of the army on the north side of the river aka one brigade of the three. Where they didn't give the commander a value (who the hell edited this book??) We gave the commanders a rating of 8, the Zulu commander aka Kati, divided her units into the chest and right/left horn, typical of a Zulu attack strategy and they only came on with an odd roll of a D6.
Deployment:
The scenario calls for an 8x6 table, which is huge, and so we played on a 6x4, and basically I made the section of the table on the south side of the river smaller because nothing really happens there anyway.

The three British Brigades:
(Note: The Natal Pioneers are being represented by naval troops.)
The Zulus were divided as follows: the chest was comprised of 4 regiments, and each the left and right horn had 2 regiments each for a total of 8 regiments. (Note: the left horn is unpainted.)
Initial British deployment:
I put the first brigade on the north side of the river, which consists of the 3rd regiment, the 99th regiment and the Royal Engineers. I put the other two brigades: the Naval Brigade and the Natal Brigade, in column on the southern side of the river with the guns on the track.
Turn 1
The Zulus forces' right 'horn' immediately deployed to the battlefield, moving 12 inches, cautiously from the south. The 'chest' and left 'horn' fail to deploy, leaving the right 'horn' to fend for themselves, for now.
The 99th regiment of foot surges toward the Zulu's right 'horn', while the Naval brigade (Stanger Rifles and Mounted Infantry), start crossing the Nyezane River. The guns cross the river's ford and move to take their stand in the center of the skirmish line.
The 3rd Regiment fires a volley into the front of the oncoming Zulu's right 'horn',...but to no avail.
Turn 2
The Zulu 'chest' deploys to the table and regiments 1 and 2 immediately make a mad 36 inch dash to the British front skirmish line in front of the deadly guns from the west, while regiments 3 and 4 of the 'chest' move a steadfast 12 inches from the table edge, directly behind the front of the 'chest'.
The left 'horn' then deploys 12 inches from the north. The left 'horn' then attempts an outright charge at the guns and fails miserably and utterly.

The British guns prepare to fire upon the Zulu hoard's 'chest'.
The Stanger's deploy in line next to the 3rd regiment, while the mounted infantry rush to the other side of the gun in the middle skirmish line. Then the Royal Engineers pivot in place and face the south west. The 99th regiment move up into the firing line.
Pearson commands the NNC1 to move up 12 inches in column form, and then he commands the NNC2 who also move up 12 inches. Colonial Pearson then commands the Native Pioneers and then he himself, crosses the river.
The Gatling gun fires upon the 1st regiment of the 'chest' and they sustain 2, then the canon fires upon them, 3 of which stick, leaving the Zulus shaken and disordered.
The 99th regiment also fires upon the 1st regiment of the 'chest' with 3 hits. But the 'chest' unbelievably holds their ground!!
Turn 3
The Zulu's right 'horn' rushes 24 inches to charge the British 3rd regiment, face to face, with one regiment in support.
The left 'horn' rushes 24 inches to charge the 99th regiment of foot, also with one regiment in support.
Regiment 3 and 4 of the 'chest' move 12 inches behind regiments 1 and 2.
Regiment 2 of the 'chest' then shoot off their muskets wildly into the British forces but give them no damage...
The British 3rd regiment of foot retaliates by firing a volley of closing fire at the front of the right 'horn' as they are charged by the angry Zulus, making 2 casualties upon them. In immediate melee, the British 3rd takes only 1 casualty, while the Zulu's lose 2 men to their fierce bayonets. Both regiments become disordered.
This melee was a draw, and the front of the Zulu right 'horn' broke from the casualties they sustained and ran from the field of battle.
The 99th Regiment of foot closes fire at the charging front left 'horn' gaining 2 hits and disordering the Zulu's but leaving no casualties. And then the Zulus are upon them in close melee combat, leaving 2 men of the 99th dead and 3 of the Zulu warriors, both are disordered.
Winner of melee is a draw.
The Royal Engineers move 12 inches into the skirmish line beside the 3rd. the mounted infantry deploy into the line from column form. The Natal Pioneers and the NNC2 deploy into the far north side of the battle field. The NNC1 deploys into skirmish line from column form.
The Hussar's Cavalry move up behind the NNC2.
The Royal Engineers and the 3rd Regiment of foot both shoot a volley at what remains of the 'right' horn, making 2 hits. The Stanger's Rifles then shoot at the 2nd regiment of the 'chest' making 1 hit, and 1 casualty upon the Zulus.
The canon shoots at the 1st regiment of the 'chest' making 1 hit upon them, followed by the firing of the gatling gun which makes 2 hits, together killing 2 Zulu warriors.
But the Zulus make a break test and miraculously hold their ground under heavy fire!!
The 99th regiment enters melee with the left 'horn' with support from their rear, and the 99th takes 2 hits. Then the Zulus and the 99th regiment each make a break test and the Zulus run from the field instead of facing anymore cold steel.
Turn 4
What remains of the right 'horn' charges the Royal Engineers, face to face, while the 2nd Regiment of the 'chest' charges the 3rd Regiment of foot.
The remnants of the left 'horn' charges the British 99th, while the 3rd regiments of the 'chest' charge the canon and gatling gun, and lastly the 4th regiment of the 'chest' charges the Stanger's Rifles. The Zulus mad charge may be to their utter ruin...
The British Engineers closing fire upon the right 'horn' puts 1 damage upon the Zulus and places them at stamina, and they are disordered.
The closing fire of the British 3rd regiment of foot against the 2nd regiment of the 'chest' result in 3 casualties to the Zulu, places them at stamina, and they are disordered. Break test results in the Zulus running off the board!!
The Stanger's Rifles and the 4th regiment of the 'chest' closing fire results in no damage.
The Canon and the 3rd regiment of the 'chest' closing fire results in 2 hits and the Zulus become disordered.
The Gatling gun and the 3rd regiment of the 'chest' result in 3 casualties to the Zulus, they become shaken and disordered. Break test results in the 3rd regiment of the Zulus running off the board!!
The right 'horn' and the British 99th regiment closing fire results in no damage.
In melee, the right 'horn' and the Royal Engineers face off from the mad Zulu charge, the Zulus suffering 1 casualty and the Engineers taking 2 damage. Zulus win this melee combat. Break test for the right 'horn' results in the Zulus holding their ground.
The Stanger's Rifles face off to the 4th regiment of the Zulu 'chest', but the Stanger's completely hold their ground with no damage taken. the Zulus however take 2 casualties. Stanger's win melee combat. Zulu break test results in them holding their ground.
The NNC2 attempts to deploy forward but halts in their tracks.
The commander of the first brigade attempts to remove a hit upon the 99th regiment of foot and fails.
Colonel Pearson will move to the Hussars and will attempt to command them to move, but fails.
The canon fires upon the 1st of 'chest' dealing 2 hits to the Zulus, then the gatling attacks the 1st of the Zulu 'chest' as well, with 4 hits, dealing a total of 4 casualties to the Zulu, and placing them in excess of stamina.
Break test results in running the Zulus off the table.
The British 99th regiment of foot, the Natal Pioneers, and the NNC2, all shoot at the remnants of the Zulus left 'horn', dealing no damage.
In melee, the Engineers attack the right 'horn', resulting in the Engineers receiving no damage, and the right 'horn' receiving 1 casualty, putting them in excess of stamina. Break test results in the Zulu retiring 12 inches backward.
The Stanger's face off against the 4th regiment of Zulu 'chest' resulting in the British with 1 hit and the Zulu's with 2 casualties, they are shaken, and in excess of 1 for stamina. Break test results in the Zulus retiring backwards 12 inches.
At this point the game ends in turn 4 with the Zulus dissolving back into the country with their forces shattered upon the field. The victory goes to Colonel Pearson and the British.
Played 2/14/2016
Conclusion and Observations
In conclusion, this game scenario resulted in basically what happened in the real battle of the Nyezane Rive in 1879; the British fought off the unorganized Zulu attack while suffering very few casualties, while the Zulus took an immense beating, leaving their many losses upon the field of battle.
This scenario in my humble opinion very much favors the British forces. As in the real battle if the Brits can organize a strong firing line they are home free. the zulu's biggest problem is the random role to enter, while this is historically a sound feature in makes for a rough start. Overall a fun scenario and looks awesome on the table. I plan on trying another version of this battle from the Battles for Empire II colonial wars supplement the big difference being the map is extended to the Kraal and Hills and has the brits posibally work into Godide's ambush.