Prisoner Escort Ambushed

Thats me playing soldier directly in the middle.

We actually played our first game last week but I only managed a few pictures in between a little dice rolling and a lot of looking things up in the book. Of course that didn't surprise me one bit, the first few games of any system are a little rough.
Anyway, without further adieu here is the game we played today using SP2


We set up a pretty simple table with a road going down the middle cut in two by a creek. I added a bunch of fence line as nothing screams wargaming colonial American like split rail fence. Little did I know these fences would really come into play.
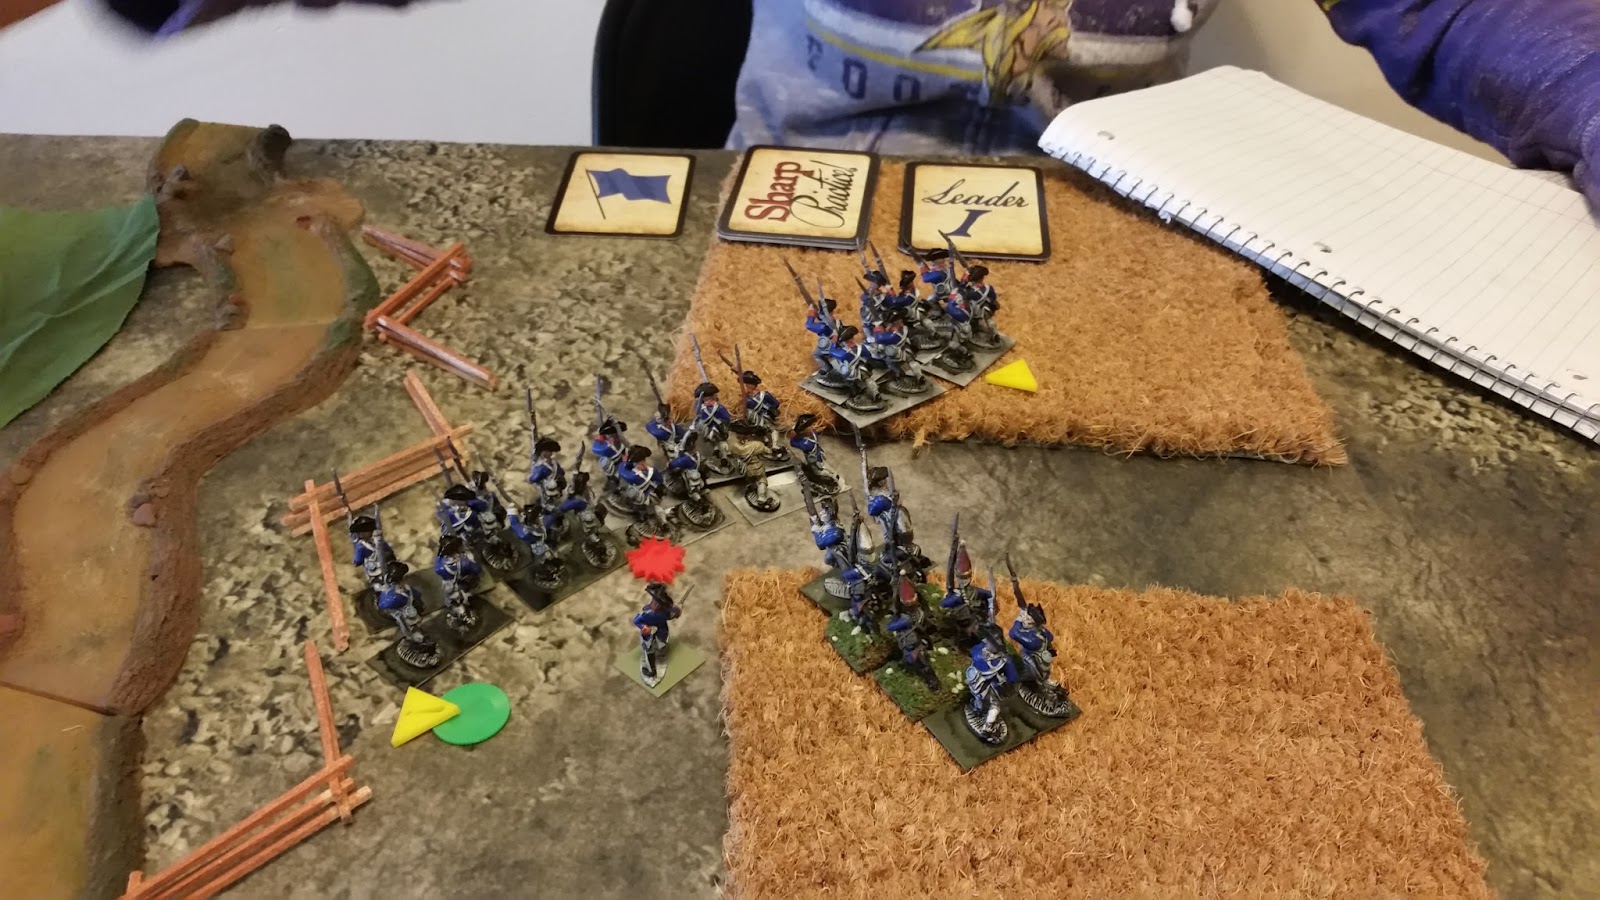
SP2 uses a point based system that is similar to Chain of Command in that you can take support options from a list after you see the mission. Declaimer: A lot of my men are based to be used for the Black Powder ruleset so you will see drummers and flag bearers mixed into the rank and file just pretend they are muskets. ;)

Kati played a Continental force from 1778+. The book basically divides the war in two for force selection with 1775-1777 as the first period and 1778 on as the other. Its a good system, thanks to the training the Continental army received in Valley Forge they were much more on par with their European counterparts. While on the over hand the British had fully adapted to fighting in the Americas by then with open order and cut down uniforms.
The Continental force was as follows: moral 11
Leader 1 Status II
3 groups of Continental Infantry 1778+
Leader 2 stat II
2 groups of State Line Infantry 1778+
Leader 3 stat II
1 group Continental Light Infantry Skirmishers 1778+ ( with Moveable deployment point
Leader 4 Stat I
1 group Continental Light Infantry Skirmishers 1778+

The British force: moral 10
Leader 1 status III
2 groups of Regulars 1778+
1 light field piece
Leader 2 stat II
2 groups of Light Infantry in line 1778+
Leader 3 stat I
1 group of Light Infantry Skirmishers 1778+
and a fixed secondary deployment

The Scenario we selected was escort duty out of the book we decided that the Continentals would be escorting some big shot Hessian grenadiers.


The continentals arrived on the table with a 10 inch move before that game began. We put them in column formation (about half way through the game we realized that the column should be 4 abreast so it may just change at one point, new rules)

Then the British deployment markers were placed. and the game was one! . . . or was it?


The game uses a card draw system with 3 kinds of cards in the deck. leader cards with the names of each leader which lets that leader go, command cards which you use to influence the game, and the Tiffon card which when revealed ends the turn and the any unused command cards can then be used to move unactivated units then the deck is reshuffled and play continues.
Well turn 1 and 2 saw a couple command cards revealed followed by the tiffen card. Leaving the british off the map and giving the escort the feeling that this was going to be a stroll through the park.

Turn 3 finally saw my Leader 3(L3) arrive with his lights and they deployed in some cover covering the road.

The was followed by the British L1 arriving and covering the road with his regulars and cannon. This made the road seem a little less appealing to the rebels.

The rebels L3 with his lights made good use of the moveable deployment point and used their rifles with deadly efficiency,

knocking out 2 men from my lights in the first volley.

While my lights were being distracted the escort and L1 headed north to find a ford of the creek.

Turn 4 saw the arrival of the brits L2 who deployed prepared to deal with the change of direction. and the rebels L3 ordered his men to start the slow process of loading those rifles.

My cannon decided to shoot a controlled shot directly at the escort column throwing out some shock and slowing them down. My lights shot at the rebel riflemen with no effect.

Turn 5 is another short one seeing my L2 move off into the field and the cannon reload. Kati did have one command card to use before the turn ends.

Her lights kill two more of mine leading me to plan an exit strategy for the group.
Turn 6 sees L1 of the rebels start forming his men into a line.


The State Line and the last of the lights arrive as well.

Giving my gun something to shoot at!

The rebels work their way to the terrible fence and creek combo we will never put on a map again.

The Brits start sweeping north to watch them cross.

Turn 7 begins with the rebels L4 and his lights moving up and losing a man to my lights.


The state Line crosses the fence to start fording the creek while the Brit lights move up on the rifles.

L1 has his continentals follow suit.

The gun gets off another great round.

Great shot of the game at the end of turn 7.


Turn 8 starts with an uneffective volley from the rebel lights and the Brits getting in position behind a fence. At this point I draw 4 command cards which gives me the ability to reactivate a leader. So I push L2 and his lights up then use the cards to go again.

This leads to a devastating controlled volley right into the State line formation.(which was hit by canister last turn) they would be marginal the rest of the game.


Kati also gets 4 command cards and pulls off a very similar move with her Continental line against my regulars.


Turn 9 starts with a deadly bayonet charge to the flank of the Continentals by my aggressive tomahawk brandishing lights. These are the guys you really don't want to fight in hand to hand late war. My men had 16 dice in the melee to her 4...

Leaving the formation broken up


Kati's lights in the south would also close with my cannon and force a retreat


The next 2 turns turn into a slugfest as we pour fire into each other in the north. While I had a great position to beat into the Continentals, I left my lights exposed to some fire to the rear from the rifles.
As we both needed to get volleys out as fast as we could the fire quickly turned into a series of uncontrolled volleys escalated by the ability Sharp practice which lets you get off faster volleys. Kati made a mad dash with the prisoners to escape.

But the regulars cut her off and ended the game.

The final shot of the table.
All and all a fun game and a great second game with the SP2 ruleset. I am sure we made some mistakes as we played but I am prepping for another sit down with the rules. SP2 feels like a Too Fat Lardies game, which makes sense as it is one. A lot of their rule systems share common ground which makes picking up a new set now as overwhelming.