The Battle of Caer Caradoc 50AD

Thanks to me needing my wisdom teeth removed we have had a whole week of doing almost nothing which lucky for me means TWO GAMES IN ONE WEEK!!!!!!
So today we played a scenario out of Warlord's Britannia book: The Battle of Caer Caradoc.
This battle excited me for one big reason, we have a primary source of the action thanks to Tacitus.
So because I can, here is a little history of the event.
The Roman invasion of Britain began in 43AD and was pretty successful. Within the first year, they had soundly, or some would say even embarrassingly defeated the Britons under Togodumnus and Caratacus twice. First, at the Medway river then on the Thames using almost the same tactics.
11 Chiefs surrendered at this point and Vespasian took a force west and in a series of small engagements conquered the southern coast of Britain. Togodumus is said to have died between the Medway and Thames events but Caratacus escaped and headed inland to become the champion of the Britons fighting guerilla-style combat for years.
A couple of Roman governors and 7 years later Caratacus ended up with the Ordovices, a tribe in modern Wales. At this point (50AD) either because his people wanted a decisive battle or because he had grown cocky Caratacus decided to risk a pitched battle with the forces of the Roman governor Scapula.
Now Tacitus tells us why he may have picked the spot he did..because I think anyone would have done the same. He erected a stone wall on a ridge directly behind a river, (probably the Severn) So they were in a fortified position, UP HILL, and behind a river....it was a good spot. Scapula believed it was a good spot as well as he surveyed the ground. So good that he didn't want to risk attacking but his men complained that they were ready to end this and finally convinced him to attack.
The Romans seem to have advanced twice. The first time being replied with thrown weapons and stones. The second time they advanced in testudo formation (shields over their heads like a shell) and started to tear down the wall under fire. They eventually broke through and stormed in and the battle quickly became a route for the Britons.
Caratacus escaped only to be turned in by the people he took shelter with making the battle of Caer Caradoc the end of an era in a way.
Now on to our refight!

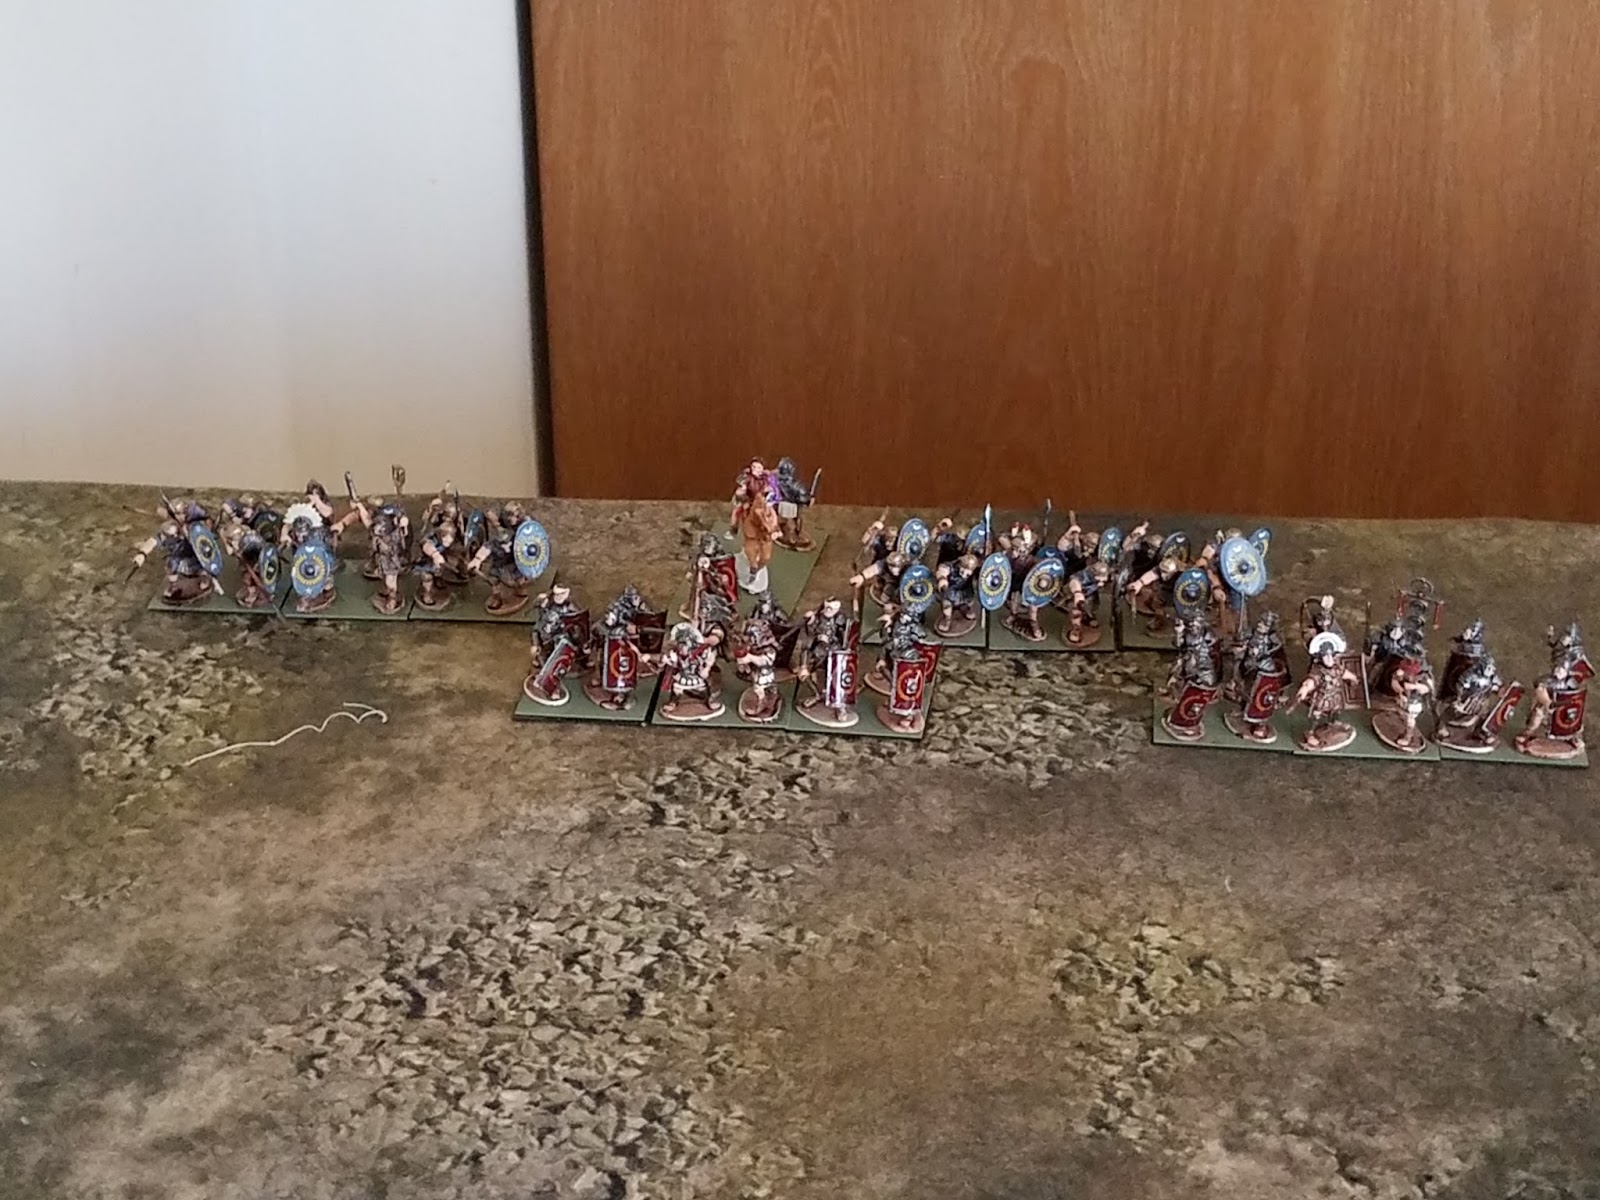
Using the map from the book (though ignoring the addition of an extra whole in the ridge) we lined our troops up for the battle. We placed a long series of ridges with a fortified "dip" in it with a river right in front.


Britons were lined along the ridges divided into two divisions. They were allowed to move down from the ridges but the Romans could not go up them.

The Romans were lined along the river with the legionaries in the center as the hammer for what was going to be a literal uphill battle. The ford could be crossed as regular ground but at any other point, the river took a full move to ford.

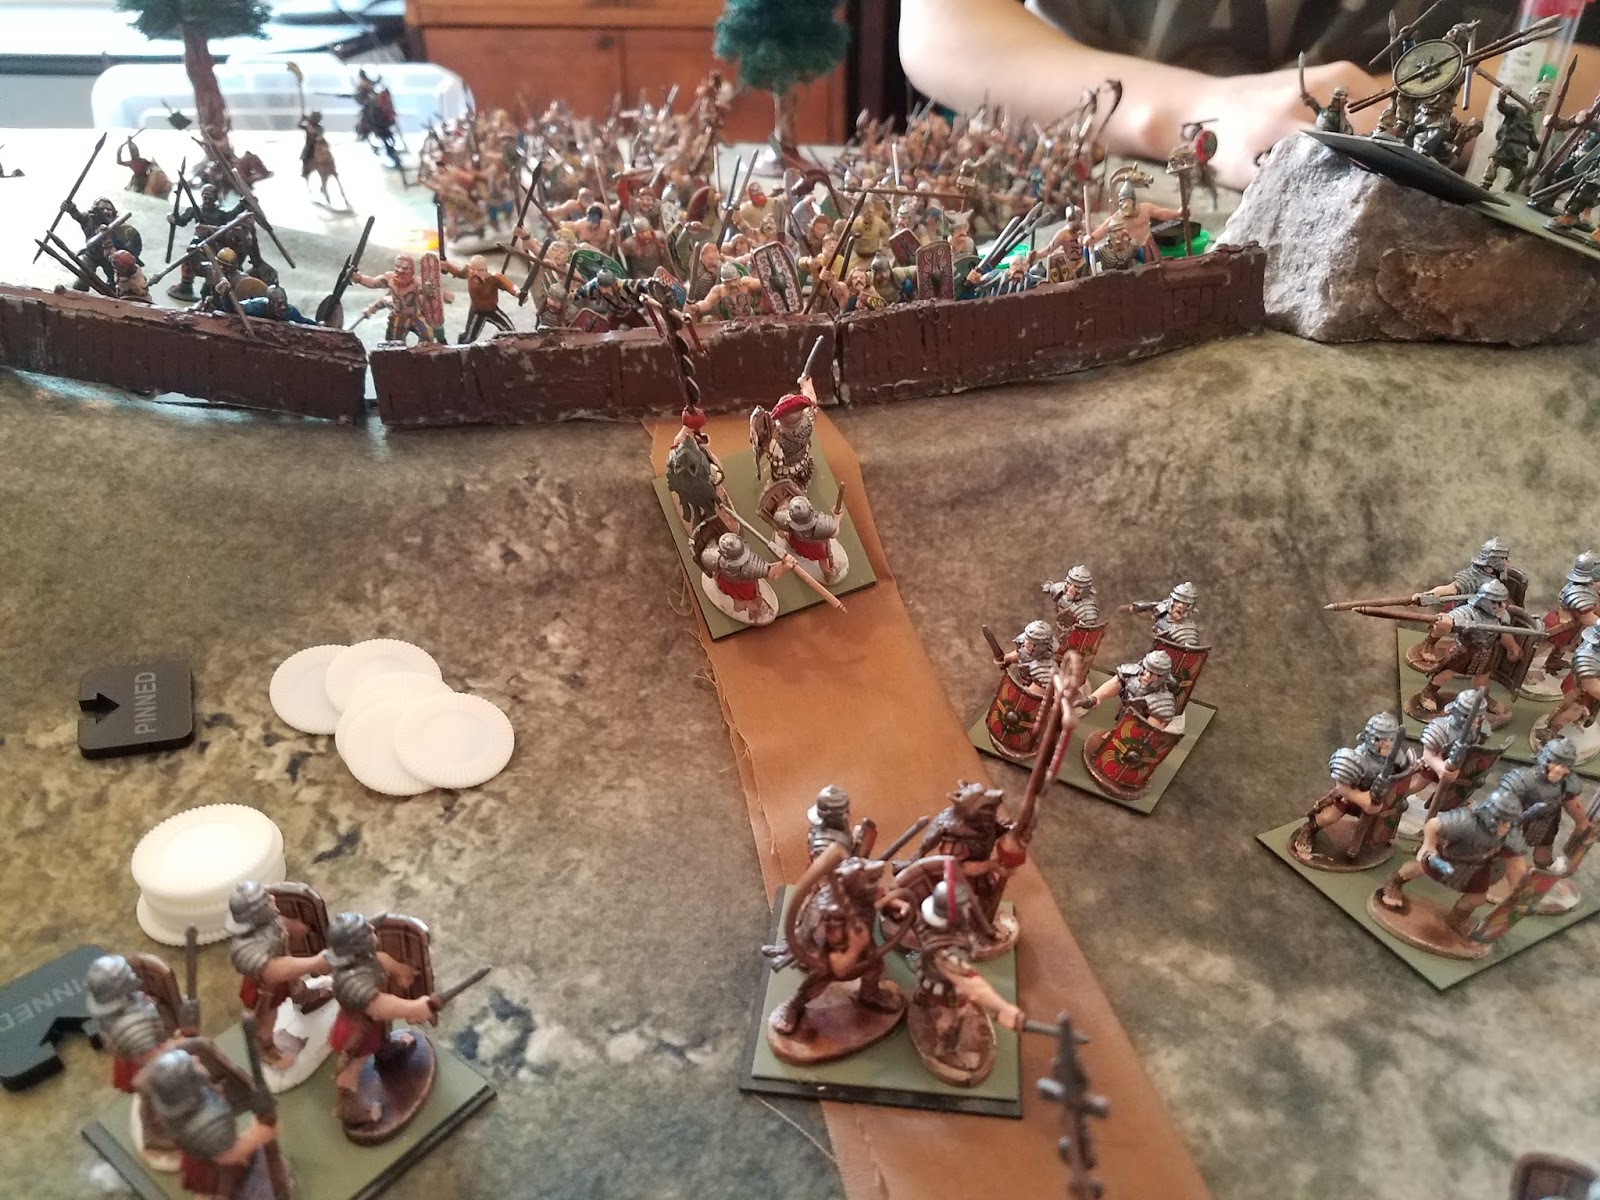
The Romans first turn saw a few units cross the river on left and the two lead legions head straight into the gap.

Into the breach lads!(or some latin equivalent)

My scorpion gets the reward for the most useless unit in a game as during the whole battle it would be shooting bolts into rocks, walls, trees and anything else that didn't move....

The first round of combat saw us tied up with two hits sticking on both forces.


The Britons spent their turn throwing stones and spears down the hill and moving a unit of light cavalry down the ridge.

The legions had enough and took every hit in the second round of combat making both the assaulting unit and the support break and run.


For my second attempt, I took one from Scapula's playbook and formed testudo and advanced (We don't have a testudo model yet so they are marked with an orange token.)

Somehow we still managed to take a couple of hits on the way up.

An epic battle ensued!

And another legion broke and ran. The supporting legion fell back while watching Scapula die in the ensuing panick....


I tried again to organize an attack but thanks to a blunder and botched roll it looked pretty piecemeal.

My last attempt saw a legion break in the first round and I and my men were done we decided to fall back. Hmm, that was a good position.

The final view of the table.
Seeing my legions breaking and running was a sad site. The events of the day proved that either the men who fought the real battle we awesome soldiers (which is very likely), we made the rules for the wall to good, or I needed to organize my attacks better. We decided it was a combination of the three. We let the warband on the wall have full dice and 3 support units which combined with an attached leader and an uphill advantage lead to a hefty dice pull. We also counted the wall as a building for moral so they had a +2 moral...one though nut to crack. But at the end of the day, we had fun and enjoyed a little rewriting of history.