A Clash in the Wilderness:
Queen Anne's War using SODT

Today Kati and I finally got around to trying out a rule set we've owned for at least a year but never had the figures or chance to play. It is Ganesha Games "Song of Drums and Tomahawks." A fast paced skirmish rules for the Indian wars of the 18th century.
Ganesha Games does one thing very well and that is modify their original ruleset Song of Blades and Heroes to fit in other periods/genres. We have played Song of Blades in Heroes before it is a fantasy ruleset which spawned Song of Drums and Shakos (a Napoleonic version) which in turn spawned this one.
For anyone that hasn't played these rules, here is a quick run down of the unique areas of the rules:
The Game is a "I go you go" (kinda) d6 system
Each figure has three important stats; a quality, a combat stat, and characteristics.
The quality stat is the most important stat. It is the number you roll when you need to see how good the character is at doing something. So for example if the quality is 4+ then you need a 4 or higher to perform certain things, the most important being initiative.
Initiative of a figure works as follows: on your turn you decide which figure you want to activate. Then you decide how many quality dice you want to use which can be 1 to 3 and you roll them. For every success, the figure gets an action. So if you have a quality of 4+ and you roll 3 dice and get 2, 4, 5 the figure will get to do two things.
Now here is the catch, IF you roll and get 2 or more failures then you end your turn and no other figure gets a turn and your opponent starts their turn. So rolling more dice is risky.
Combat is simple, when you attack you roll a d6 and add your combat stat and your opponent does the same, and the higher modified roll wins. Winning does not necessarily mean killing though. You must double your opponent's score to kill. If you don't, then you look at the dice roll. If it's even then they are knocked down and if it's odd, then they either: jump towards cover (ranged) or step back (melee). Interestingly in melee even if you attacked, whichever figure wins the roll, wins the combat regardless of who initiated the combat, so you can end up dead.
There are a multitude of special characteristics to vary up the figures. Things like: marksmen gives a bonus to ranged attacks and primitive weapons gives you an auto kill in melee if you roll a natural 6.
One last thing (I promise this is the end of the rules section), the game doesn't use a tape measure everything uses 3 range band sticks: short 50mm, medium 80mm, and long 120mm. Average figure moves one medium range band per action and most longarms use the long range band. And you can shoot up to 3 times the band length with various modifiers. So a musket shooting at 1 long range band gets a +2 to the roll and at 2 long range bands gets +1 and at 3 long range bands its a +0.
Anyway that's just a brief rundown of the system there are more rules but I'm not going to go into any more details. On to the game!

As this is during Queen Anne's War 1702-1713 I figured it would only be fitting to place it in a Heavily forested map. Song of Drums and Tomahawks (SODT from here out) is played on a 3 foot x 3 foot table. I did put a stream and hill in to vary up the table and a few patches of dense woods.

First order of battle is Kati's French Troupes de la Marine. Interesting note the Marines were New France's only regular troops for the first half of the 18th century. An officer, 7 marines, and a native scout make up this rooster. The Marines are regulars as far as the game is concerned but have advantages over some of the other nation's regulars to show them being more permanent residents They are woodsmen (move in terrain easier) and marksmen.

I played the "British" but I think a Native warband being directed by a lone Englishman is a more appropriate name. The force consisted of a Native Warband leader, 7 traditional native warriors, and one British regular.


Deployment was pretty simple. I did decide to split my force and put a few natives on the other side of the stream.

Turn one the French got right to it moving up through the woods.

The natives were not as interested in moving up. I generally try to roll 2 dice per figure for actions and after only two natives(Q4+) I rolled and 2 and a 1 on the third and ended my turn.

The French continued to advance sticking together and moving at a nice pace.

Then my natives finally started moving on turn two.


The Hill quickly became the focal point of both forces.

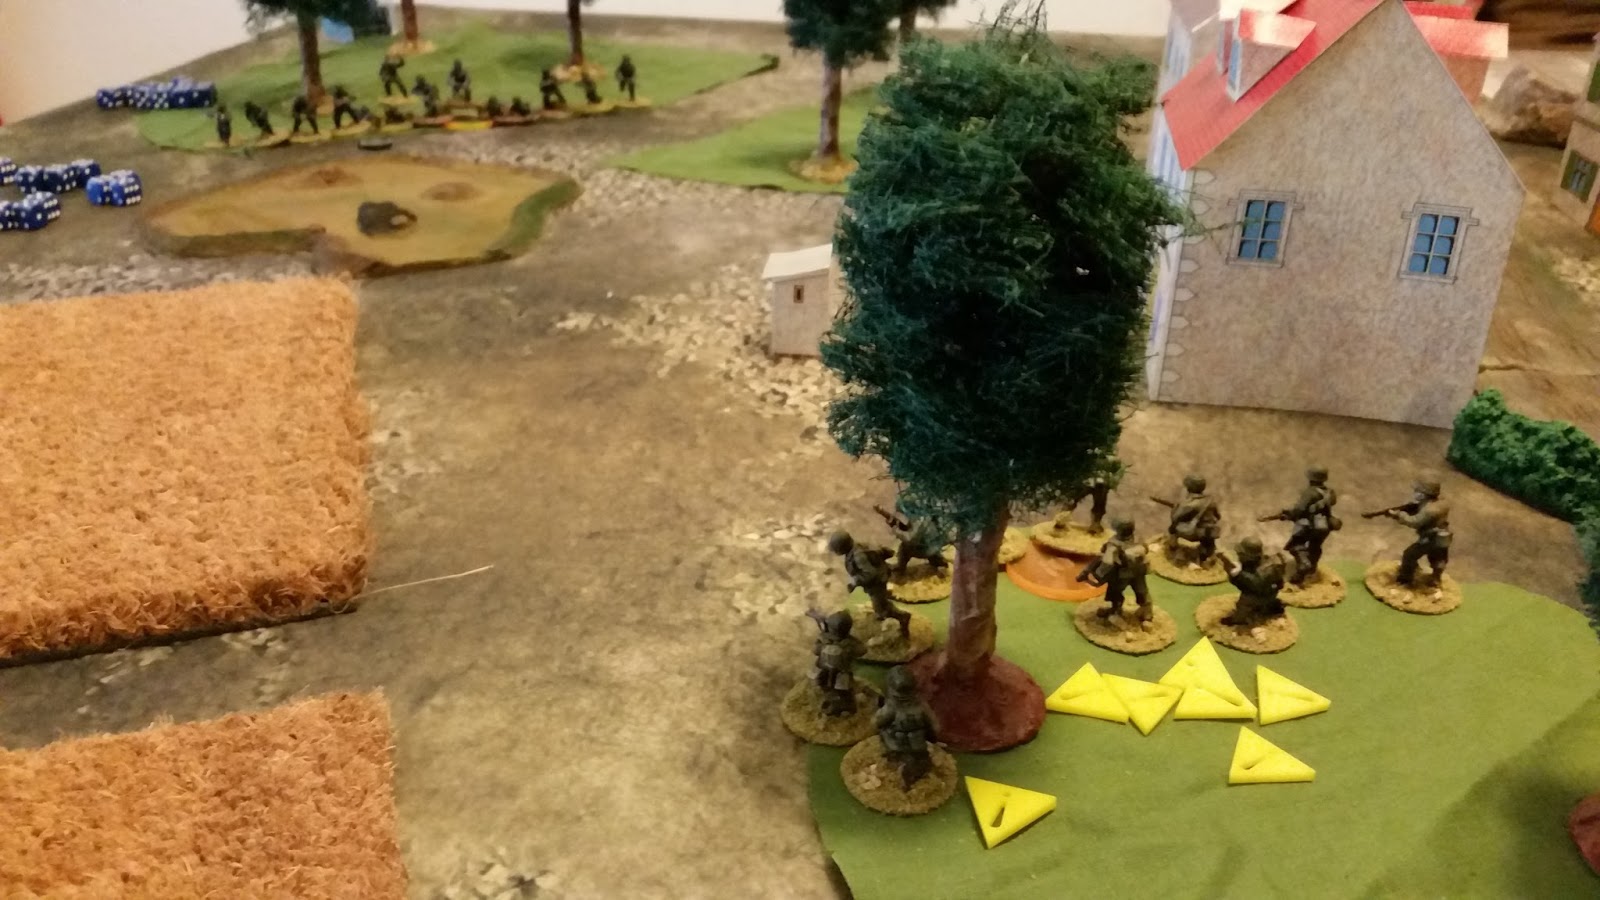
The first shot rang out from one of my warriors on the far bank of the stream. While it didn't kill the Marine it did make him jump to the ground. Side note, the yellow makers shows someone is unloaded. It takes 2 actions in a single turn to reload a gun.


A few of my warriors start to work their way up the hill.

Kati starts her turn by activating a marine...and immediately rolling a 1 and 2 (pictured above) thus ending her turn. I was ready to take advantage of her terrible luck.

Only to have the same thing happen to me on my second figures activation.

The Englishman presented too good a target for the Marines and he became my first casuality of the game.


A couple turns of relatively uneventful musketry occurred as we edge slowly towards each other. I do finally get a brave into melee and down a Marine.


As I mentioned in the intro when you fight in melee it doesn't matter who attacks. The figure that wins the roll, wins the combat. The French officer had all the advantages as he attacked my warrior but Kati rolled a 1 and I rolled a 6 and with my warriors having the primitive weapons trait, if they roll a natural 6 and win the combat the opposing figure is killed.

When a leader is killed all friendly models make a moral roll. This consists of each one rolling 3 quality rolls. If you pass all 3 you are fine, but if you fail only one or two you just move back but continue to fight the next turn. But if you happen to fail all 3 then you run away completely...which 3 of Kati's men do......this in turn forces a below half strength moral roll for each man.

Overall this was a FAST game once we started playing in was over in less than 40 minutes. We both felt that rules seem as if like you are playing the rules and not the time period at some points, not that the rules are bad. But I did enjoy the lackluster musketry exchange and with only 9 guys on each side it was cool to see such a small scale encounter. Not to mention we got to get out all the furnace filter trees Kati has been working on.
So until next time.